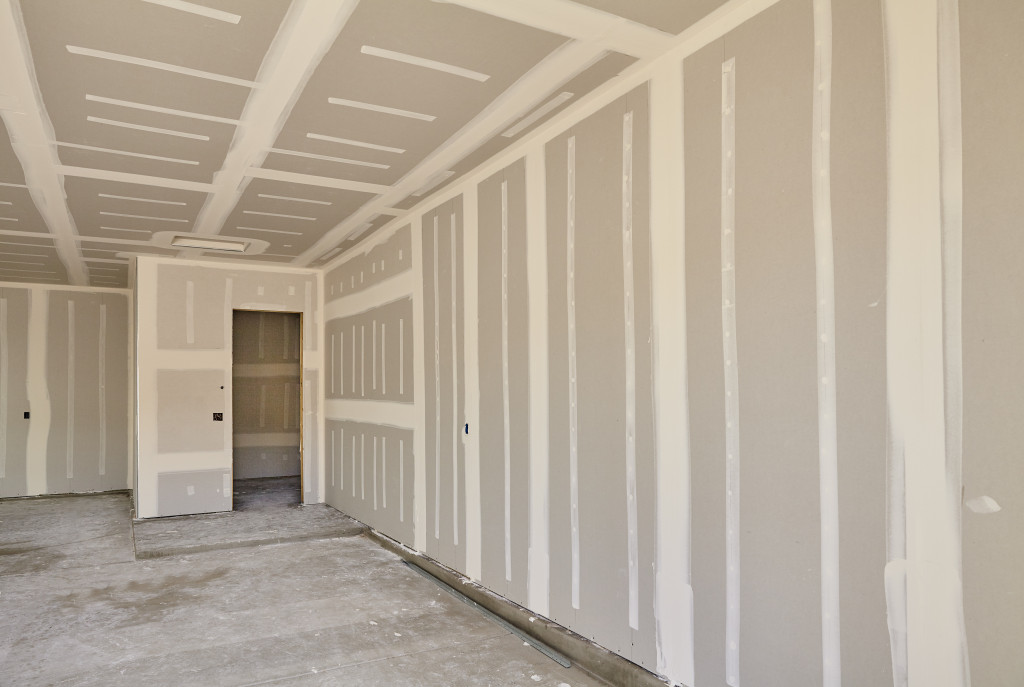
Installing drywall looks complicated, but you’ll find that it’s easy to learn once you learn the basics. You can start doing small home repairs and renovations without having to hire a full team. Of course, it’s not without its difficulties. One of the toughest challenges when it comes to drywall is attaching it to the ceiling.
Drywall is designed to be robust, and if you add the weight of the panel, you might find it challenging to keep it in place while installing it on the ceiling. While there are tools you can use to make your job easier, you need to know a few basic things first. These finishing tips will help ensure a clean and smooth surface. Only then can you use staining rags to begin the wall staining process.
1. Use a panel lifter
Do not install ceiling drywall without using a panel lifter. Panel lifters are specialized tools, but you can easily rent one from a tool rental shop. If you see yourself doing a lot of panel lifting, it might be smart to invest in a lifter. If you use one, the only lifting you will have to do, apart from moving the drywall panel into the room, is to lay the panel on the support.
You can adjust the drywall lift’s tilt to match the ceiling’s angle and the ratcheting crank can help you to hoist the panel into position against the joists. You can also use the lift to hold the panel steady, so all you have to do is to fasten it to the ceiling. Drywall panel lifters are also useful for installing drywall to high walls.
2. Use screws to fasten the drywall
Even if you correctly installed the ceiling drywall, the panel might still sag in places if you use the incorrect type of fasteners or don’t use enough. If that happens, you will have to redo the entire job, which will cost you a lot of time and resources. One way to avoid this problem is to use screws instead of nails since they don’t pop out.
If you’re using half-inch drywall panels, you should space the screws at least 12 inches apart. You can space them even more closely just to be on the safe side. Use a screw gun instead of a drill to ensure that the screws are embedded with the correct depth. The heads should be embedded just below the paper without breaking it to maximize effectiveness.

3. Tape and finish properly
When taping the drywall, it is important that you get the tape flat. One of the best ways to do that is to use presoaked paper tape. Avoid adding too much joint compound underneath the tape. You also need to add enough compound to ensure that all holes have been filled over or else bubbling could occur under the tape. You know you’ve added just enough when there is minimal excess compound when you scrape it.
Add a topcoat on the tape right after applying it. Since the tape should work regardless if it’s wet or dry, you do not have to wait for the topcoat to dry. Add a few more coats after that and you should use wider blades when scraping it to ensure the smoothest seam and the best feathering.
4. Texture the surface
One way to make the room more comfortable and intimate is to texture the drywall by giving it a rough covering or by darkening the ceiling. Texturing is also a useful way to hide visible seams and joints.
For instance, one method of texturing the surface is to use a thick nap roller to roll diluted joint compound all over the surface. You can also use a hand sprayer to spray diluted mud. Another method, which requires consumes more time and effort, is to use the skip trowel method. Apply undiluted mud and lightly scrape it with a drywall knife to flatten it. Vary your mixture and scraping technique to get your desired effect. Always remember to prime the drywall first prior to applying paint.
A final word
These pointers will help you become a better home contractor. More and more people prefer to do home construction themselves, in a bid to save money on contractors, so you can position yourself in the market by offering your services as an independent professional. Installing drywall is easy to do if you get the basics right, but you’ll also need lots of practice to prevent costly mistakes from occurring.

